 The first ornament we made was the beaded candy cane. Here students used two different three-cornered beads to make an AB pattern and put them on a pipe-cleaner. This was a great way to see how students were progressing with understanding patterning. The students were able to choose their own colors, I had red, green and clear for them to choose from. I added ribbon to help make them festive.
Another Ornament we made was a Handprint Snowman Ornament. For this ornament, I painted the students hand white and had them hold the glass/plastic ornament in there hand, with their fingers wrapped around the ornament. After it dried, I gave the students permanent markers and had them decorate each finger to become a snowman. These turned out really CUTE!! The students artistic side was able to come out on these.


 We also made a wreath for our families. I had students bring in stripes of fabric prior to starting this project. Many brought in Christmas or Holiday fabric, others brought in a variety of colors of fabric. One year, I had a student that loved the cars movie, so his fabric was Cars. It does not matter the color or if the fabric is printed or not. They look great when they are finished. This project takes awhile to finish. I usually have my students work on them everyday.
To make these, I have a wire coat hanger bent into a circle. The students then tie a piece of fabric onto the coat hanger. They continue to do this until it is filled up all the way. It takes awhile for students to figure out how to tie a knot with the fabric around the coat hanger. I spend a lot of time teaching them how to do this and working with them individually. You have to to make sure they are not just wrapping it around it so it stays. If you shake it and all the fabric falls off, you know this is what they have done. Periodically, I scrunch the tied fabric up to make it fuller. The students usually think they are done and then I scrunch it up and they have more to do, they don't like it when I do that. After they are finished, I tie a bow that I make for each of them.

This year, I made these really cute tea light snowman. We made our own hats for these. To make the hat, I had took a foam marshmellow and cut it in half and then had the students paint it. They got to choose either red or black.


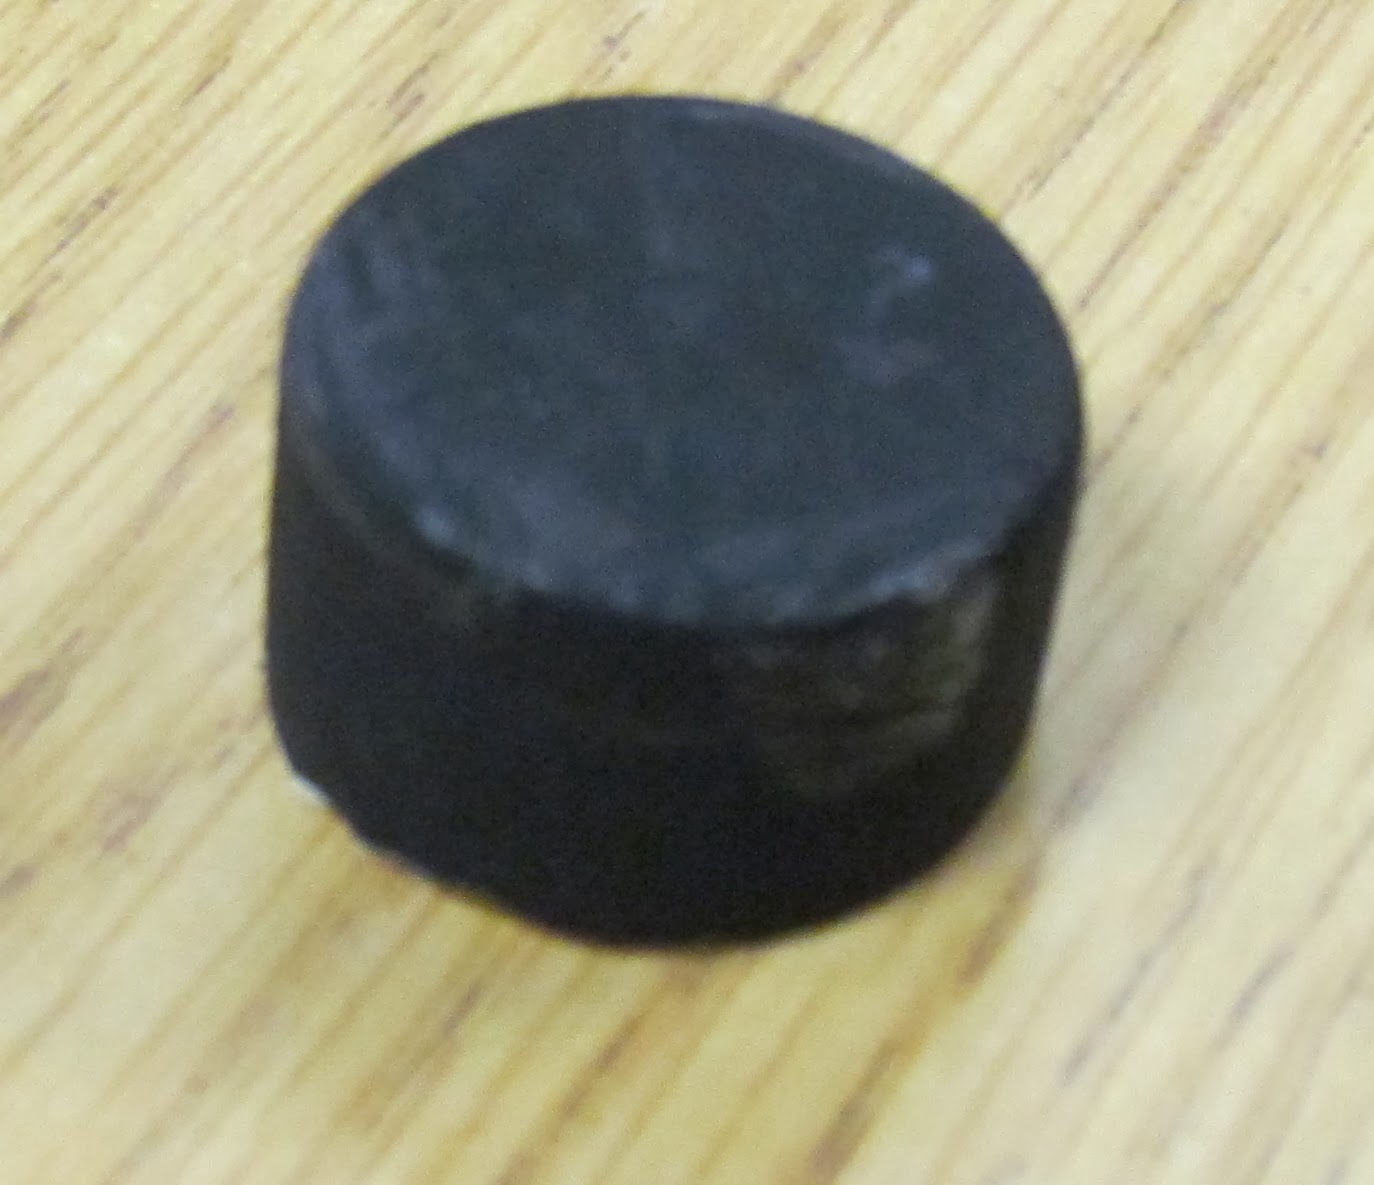
 To make the rim of the hat, I took some sparkly foam and drew a circle
for the students to cut out and them glued the rim and the top of the
hat together, tacky glue works well.
To make the rim of the hat, I took some sparkly foam and drew a circle
for the students to cut out and them glued the rim and the top of the
hat together, tacky glue works well.

To finish the hat, we add ribbon around the hat and a sticker to decorate it up.

The students use permanent markers to decorate the snowman's face. Once they have decorated his face, I then hot glue the hat on top, I add a piece of ribbon so it can hang on the tree. Prior to this, I already tied the scarf around the tea light.

No comments:
Post a Comment